How to Flush Your Drain Field Lines
Once annually, you should make sure you flush your drain field lines. This is something you can do yourself, by using these 8 steps!
(Need additional help? You can also follow our instructional video.)
1. Locate your drain field lines.
At the end of each line will be a small, round cap (normally green).
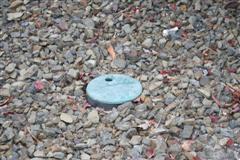
2. Remove the green cap.
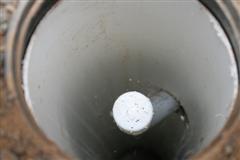
3. Unscrew the PVC cap on the drain field lateral line.
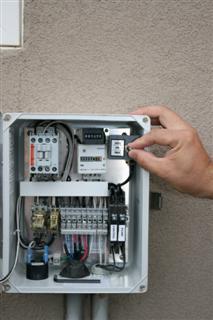
4. Return to the control panel and flip the pump switch on. Leave on for 10 seconds then switch back to auto.
TIP: It is really helpful if you can have two people to do this step. That way one of you can flip the switch and the other can stay at the drain field and monitor the water that is flushed. When the water runs clear, the pump can be switched back to auto.
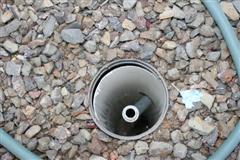
5. Run the pump in step 4 until the water runs clear, approximately 10-20 seconds, then return the pump to auto.

6. Screw back on the PVC cap that was removed in step 3.
7. Replace the green lid on top of the drain field lines that was removed in step 2.